
My boyfriend walked into the house the other day and let out a blood curdling scream. The first thing he faced upon opening the door was my face covered in a multi mask. All i can say is that this explains pretty perfectly how I looked, like some sort of monster from the deep lagoon. However it was all completely worth it (even the near loss of my boyfriend from cardiac arrest) for the results I saw on my skin! I had been noticing all the fuss online around multi masking and decided to try it but next time I think I should warn him when he is on his way back from a meeting! I really wanted to see how my skin would react and to see how well these combination of masks worked. I had never thought before of putting different masks on my face at the same time. Previously I had always rotated my face masks, one day doing a glowing mask and another day a hydrating etc…. but after seeing the amount of magazines that were talking about multi masking I really wanted to give it a try!
If you haven’t been following this new trend as closely as I have the idea of Multi Masking consists of applying different types of face masks to different areas of your face at the same time. This aims to treat specific skin concerns and target exactly what your skin needs! I have a combination skin type which is oily on the T zone yet quite dehydrated on my cheeks and around the outside of my face. So it makes total sense to me that I should treat each area of my face, with their specific needs, in a different way. So here I am going to outline 3 different face masks; an DIY oil control mask for my T zone, a hydrating masks for my cheeks, and a DIY cooling refreshing mask for my unders eyes. However you can customise these recipes as much as you want depending of your current skin situation! So let’s get started, I promise it only takes a few minutes to prepare each of these masks so definitely don’t be put off trying!
Before using any sort of mask, or multi masks, always make sure to prep your skin and clean your face really well. I would recommend having a herbal steam facial (here is a link to my personal recipe) to open the pores so that your face will be warmed as this helps the masks to perform far better.

Eye Mask
The first thing I made sure to do was to start by preparing the eye mask as the mixture has to chill in the fridge until cold. This particular mask is dedicated to taking care of the under eye area which is the most delicate part of the face! After long hours working in front of a computer and the usual lack of sleep from city living my eyes always seem to look tired and puffy. To try and help rectify this I like to use refreshing and cooling eye pads! This recipe uses just 2 ingredients. Firstly there is Cucumber which helps to hydrate the skin, eliminate puffiness and dark circles. Second is Aloe Vera which contains vitamins and antioxidants, fights free radicals and helps prevent skin ageing. It also moisturises, improves elasticity, soothes irritated skin and is very effective in reducing puffy eyes. I just adore Aloe Vera and wish I had a plant in my garden that I could cut open and use straight from the source.
Ingredients
2 tbsp cucumber
1tsp Aloe vera
Directions
Blend the cucumber in a food processor until liquid
Mix in a bowl the cucumber juice with the aloe vera
Place the mixture in the fridge until cold
Once cold dip 1 cotton pad (which has been cut into 2 halves) into the mixture and place one half under each eye.
(Tip: This eye mask can be done daily for better results)
Clay Mask
The best way I have found to treat my oily T Zone is using clays! They’re affordable and very, very effective!! Clays have amazing benefits for the skin absorbing excesses of sebum from the surface of the skin leaving it smooth and soft. They also help to remove impurities from the skin and reduce the appearance of pores. There are multiple clay types that you could use for your mask which differ slightly and work better for different skin types and cost different amount too. This time I decided to use Fuller’s Earth clay (Multani Mitti) as this is the best clay for absorbing oil from your skin and drawing out impurities. Therefore it’s great for anyone who has oily skin and definitely the best deep cleansing clay I have ever tried! I then added to the clay some Distilled Witch hazel (hamamelis) which is especially beneficial for combination and oily skin. Witch Hazel helps to purify the skin and is a natural astringent which means it has the ability to tighten up large pores.
Ingredients
2 tsp Fuller’s Earth (any other clay or activated charcoal will do)
3 tsp Witch Hazel or grapefruit flower water
A few drops of Jojoba oil
Directions
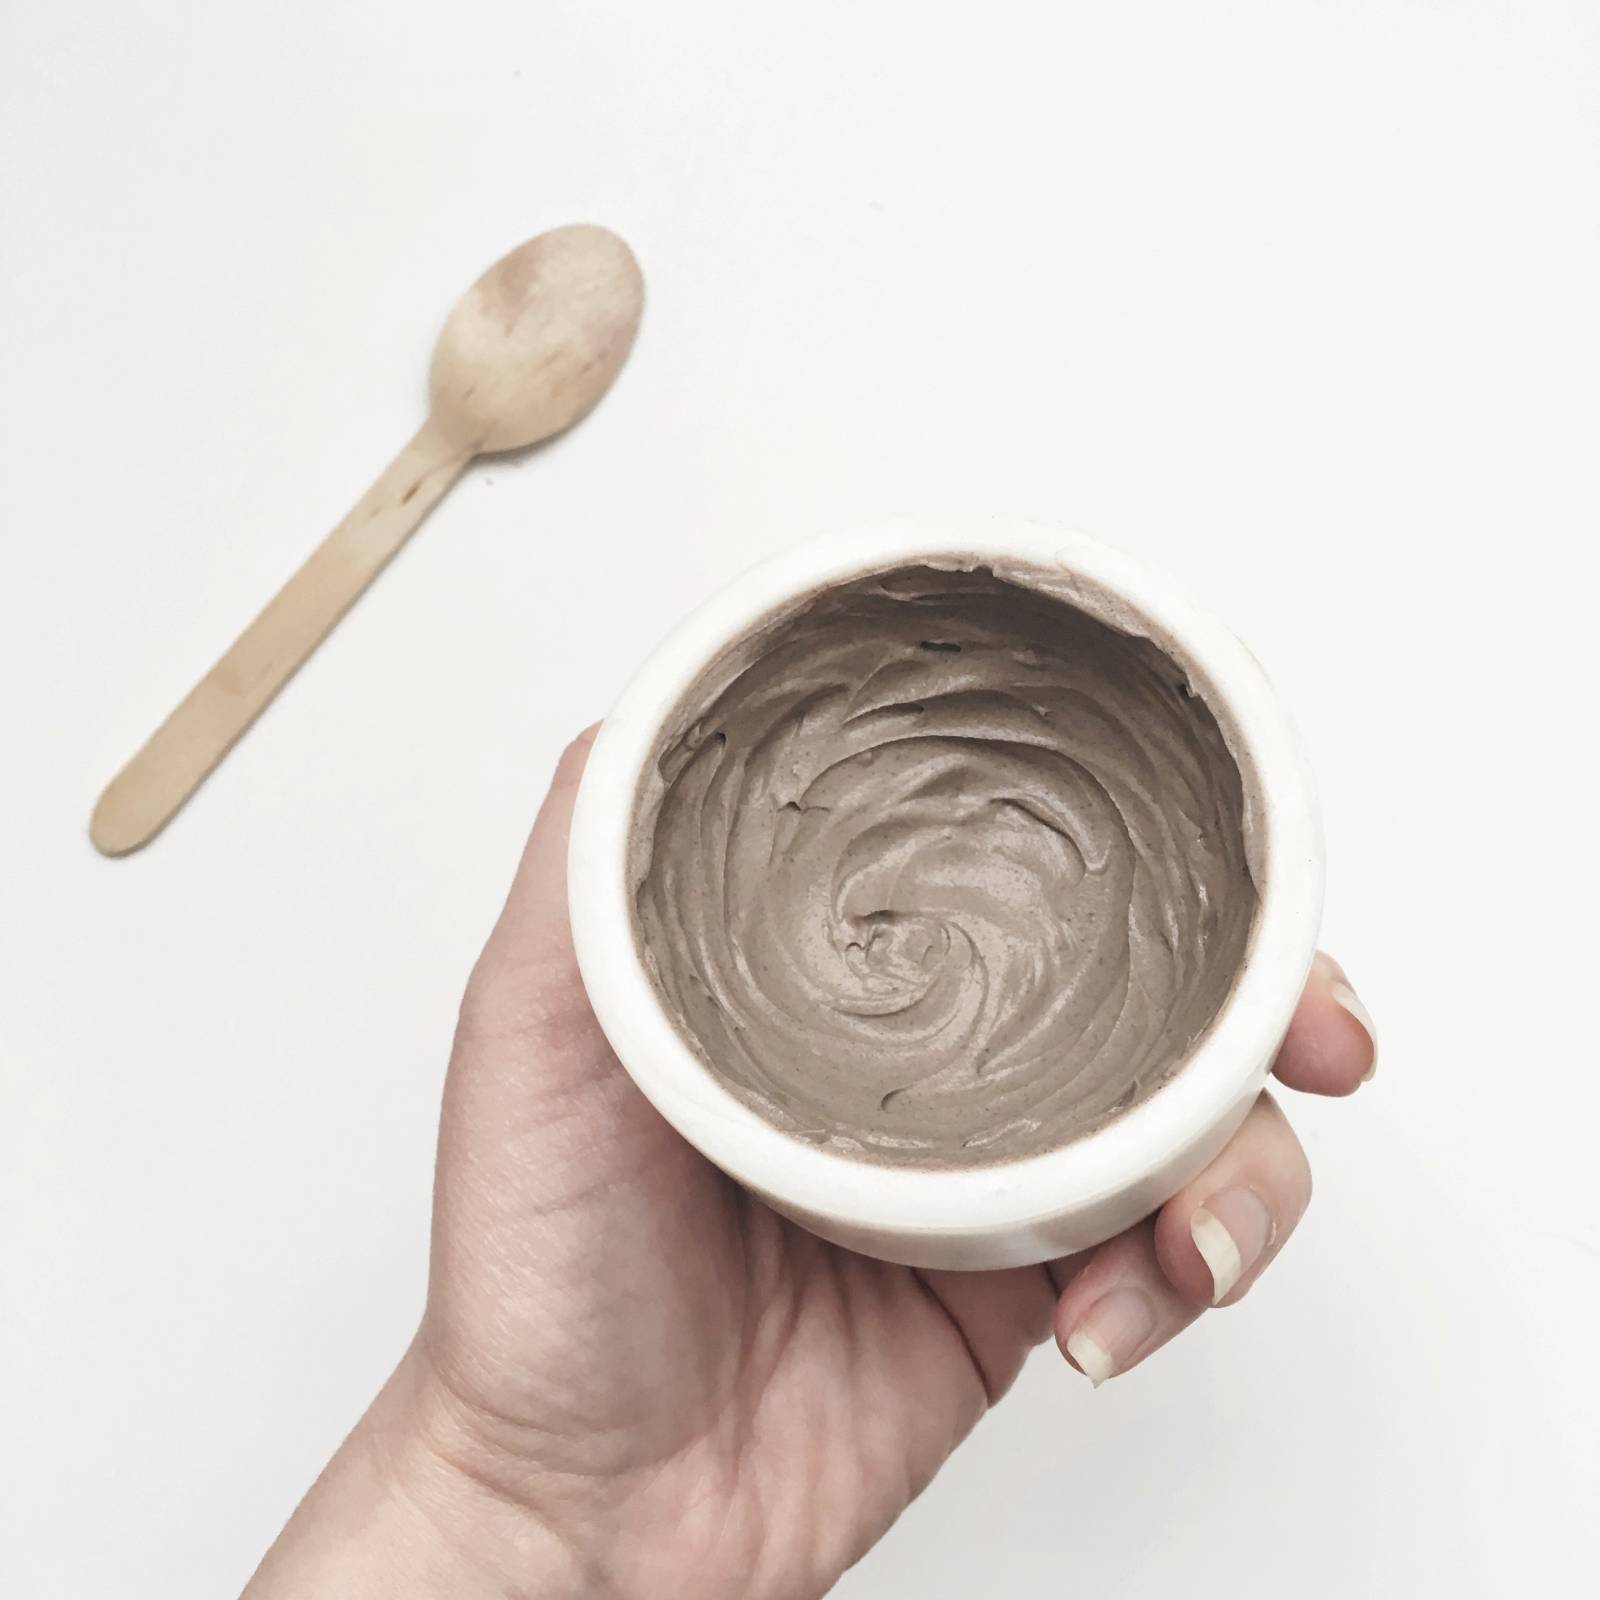
In a bowl, mix all the ingredients together with a wooden/plastic spoon (Do not use metal containers or metal spoons with clay)
Apply a thick paste with a brush on the forehead, nose and chin (Avoid the eye area)
As the mask dries it feels tight on the skin.
(Tip: If you have any spots just apply a bit of the mixture on it it will dry up the spot!)

Hydrating Mask
Finally the last step is for my cheeks and the outside of my face. I use a hydrating mask from H&M’s new organic range. It’s a great product and I have done a quick review here if you want to know more about it. I thought it would be ideal for a multi mask as it contains jojoba oil, which is well known for its moisturising properties, as well as shea butter and aloe vera. This mask hydrates, moisturises, softens and relaxes the skin. I absolutely love it!
Leave all the masks for 10 minutes before rinsing them off with warm water. Gently pat your face with a towel and follow up with your favorite toner and facial oil………and you are done! Your skin will feel so soft, hydrated and glowing!
Ever tried multi masking? What did you use? Tell me below!


Great blog and pics! I haven’t tried multi-masking but it sounds great. I’ll have to give it a go!
Auteur/autrice
Tanks Arjun