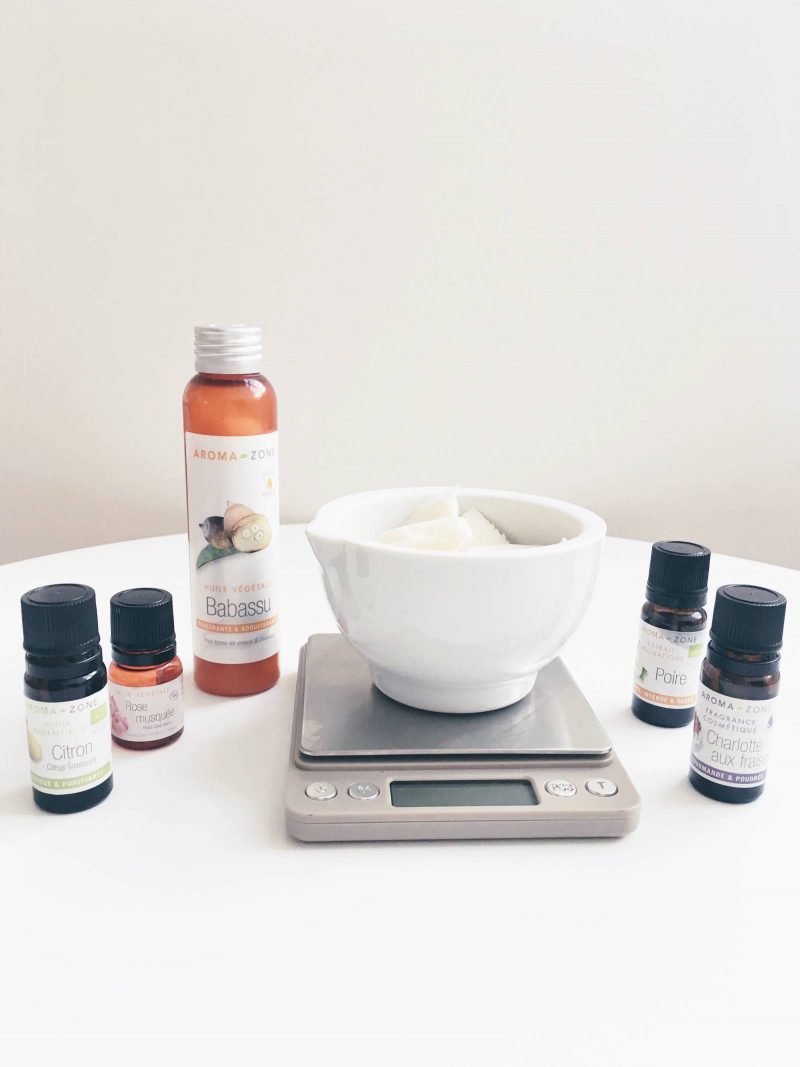
Today I’d like to share with you a very easy way to make your own soap. Seeing so many different pictures of beautiful soaps on instagram made me want to learn how to make my own, particularly as i wanted to be able to adapt them exactly to my personal taste and skin type. I started heavily researching how to make soap and found out that you need to use lye. Lye can be dangerous so I was a bit concerned and slightly scared to use it! However, I found that Aroma Zone sell a pre-made ‘melt and pour’ soap so the lye has already been handled! How good is that? The only thing you need to do is choose the ingredients you want to add to the base to customise your soap! I decided to keep the recipe pretty simple as this was my first time making soap! Here are the ingredients (all bought from Aroma Zone) I chose and the tools i used as well as the method in case you want to try doing the same:
Tools
Silicone Soap mould
Precision scale
Spatula
Bowl
Ingredients
100 g of soap base
1.8 g organic chilean damask rose (rose musquee)
2.4 g Babassu oil
40 drops organic lemon essential oil
15 drops organic pear fragrance
40 drops organic strawberry fragrance
1 g mineral pink oxide (colourant)
Rose Petals
Instructions
Step 1 Cut the ‘melt and pour’ soap base into small pieces and place them in a bain-marie, (make sure to cut even pieces for the base to melt evenly). Leave the base to melt on a low heat.
Step 2 In the meantime mix the babassu oil, the citrus essential oil and the fragrances in a bowl.
Step 3 Stir the base slowly to make sure it has melted completely. Once done, turn the heat off.
Step 4 Add both the mixture and the mineral pink oxide (the colourant) to the base and mix everything slowly together. (Tip: if you dissolve the pink oxide into a few droplets of water it enables an equal dispersion of the colourant)
Step 5 Pour the mix into your silicone mould and sprinkle the flowers on top
Step 6 Leave the soap for a few hours to set solid. When hardened remove the soap from the mould and it’s ready to use.
Aroma Zone white melt & pour base is certified organic from the Soil association, it’s sulfate free and contains great ingredients such as aloe vera, glycerin and coconut oil…..so there are absolutely no nasties in it at all. The ‘Melt and Pour’ base is a brilliant alternative when you don’t know how to make soap from scratch. It’s so easy and fast to make your own soap with this kind of base! However, watch out because the soap base dries really fast which makes it difficult to pour. Once you turn the heat off, add the mix and the colorant as quickly as possible otherwise you won’t be able to pour the soap into the mould. You will find that the mixture will get too thick, sticky and hard to pour much faster than you will expect. My first pouring attempt was a bit of a disaster ^^ so you need to work fast but still make sure to be very careful around heat and flames of course!
You can use different ingredients and personalise your soap as much as you want! You can add clays, exfoliants, plant butters, different colorings and so much more. I chose chilean damask rose oil for its softening properties, it smoothes and hydrates dry skin which is exactly what I need during winter! I wanted to use the Babassu oil because it produces rich foam (even though the base soap foams quite well already i thought why not added a bit more. I always love a rich, thick foam from shower gels and soaps!). I decided upon the Lemon essential oil because it has cleansing and purifying properties. This teamed with the fact that i just adore the scent meant it was a must for my first set of DIY soaps. The lemon alongside the 2 other fragrances give a such refreshingly sweet smell to the soap that I just love!
I really enjoyed making these soaps, so much so that I will definitely make lots more soon and try out loads of different ingredients in them. Get ready to see loads more DIY soaps on my blog over the upcoming months as I have a feeling this may turn into my new addiction!
Have you made any soap before?


